How to perform a vascular injury management
Source
To access the full video and additional content on this subject, log in or subscribe
Summary
Focus: Management of a bleeding vessel.
Key elements: Immediate response, simple ligation, transfixing ligature, and arterial repair principles.
Step-by-Step Technique
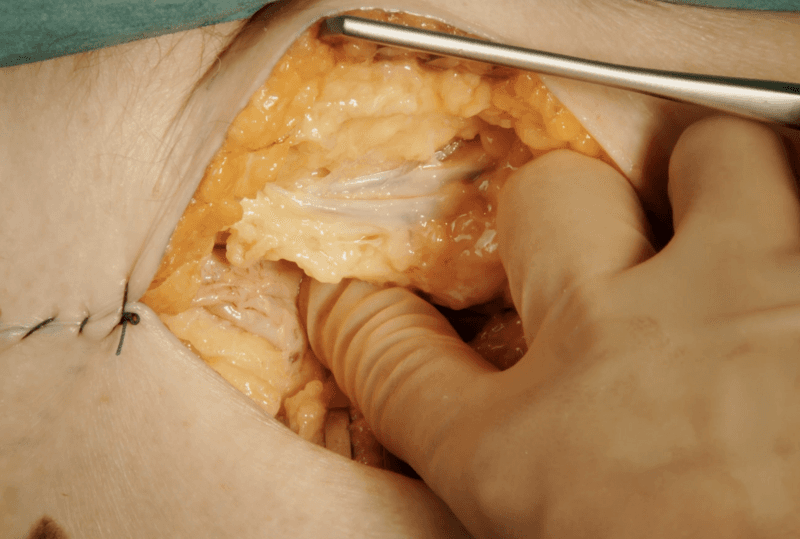
Immediate Response to a Bleeding Vessel
Pressure applied with a finger.
For minor surface bleed: electrocautery.
For larger raw surface bleeding: local hemostatic agents.
Log in or subscribe to access full content and see all the images.
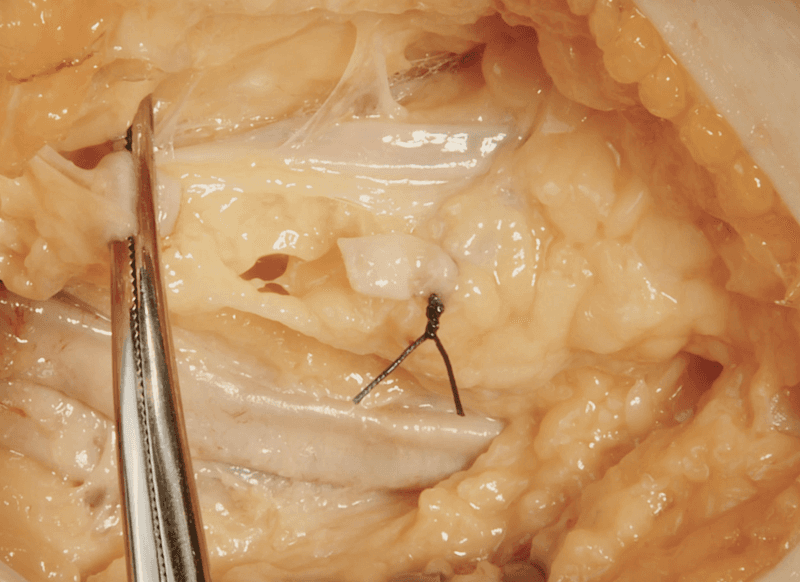
Simple Ligation of a Vessel
The bleeding vessel is exposed.
Clamps are placed proximal and distal to the injury.
The vessel is cut.
The suture thread is looped around the vessel just proximal to the clamp.
The first knot is tied, and the clamp is carefully opened and removed while simultaneously securing the knot.
Additional knots (4–6) are tied.
The ends of the thread are cut.
The other end of the vessel is treated in a similar manner.
Log in or subscribe to access full content and see all the images.
Transfixing Ligature
The artery is exposed, clamped, and cut.
A needle is passed through the vessel, piercing both walls, just proximal to the clamp.
The thread is pulled through and looped around half of the vessel.
The first knot is tied, sealing half of the vessel.
The thread is looped around the remaining part of the vessel.
The knot is tied, and the clamp is released while the knot is simultaneously secured.
Additional knots (4–6) are tied.
The threads are cut.
Arterial Repair Principles
Proximal and distal control of the artery is obtained, and the injury is evaluated as suitable for direct repair.
The transverse closure is started from inside out, including the intima layer on the takes.
A thread with a needle attached to both ends is used so that suturing can continue uninterrupted on the other side.
The ends are connected and tied.
Multiple knots (6–7) are tied.
Suturing, running or interrupted, is continued, taking small bites including the intima layer each time.
Before the thread is secured, some blood and possible air are expelled by carefully releasing the clamp.
Multiple knots are tied, and the ends of the thread are cut.
To access the full video and additional content on this subject, log in or subscribe
Piftalls and Complications
To access the full video and additional content on this subject, log in or subscribe